
It was so fun to host Indedenpent Clothing Initiatives’s first giveaway sponsored by Chalk and Notch. We gave away the Girls’ Fringe Dress pattern, the companion to the original Fringe Dress Pattern.
I had previously made both a dress for myself and my daughter, so I was extra excited to give away a pattern I already love so much!
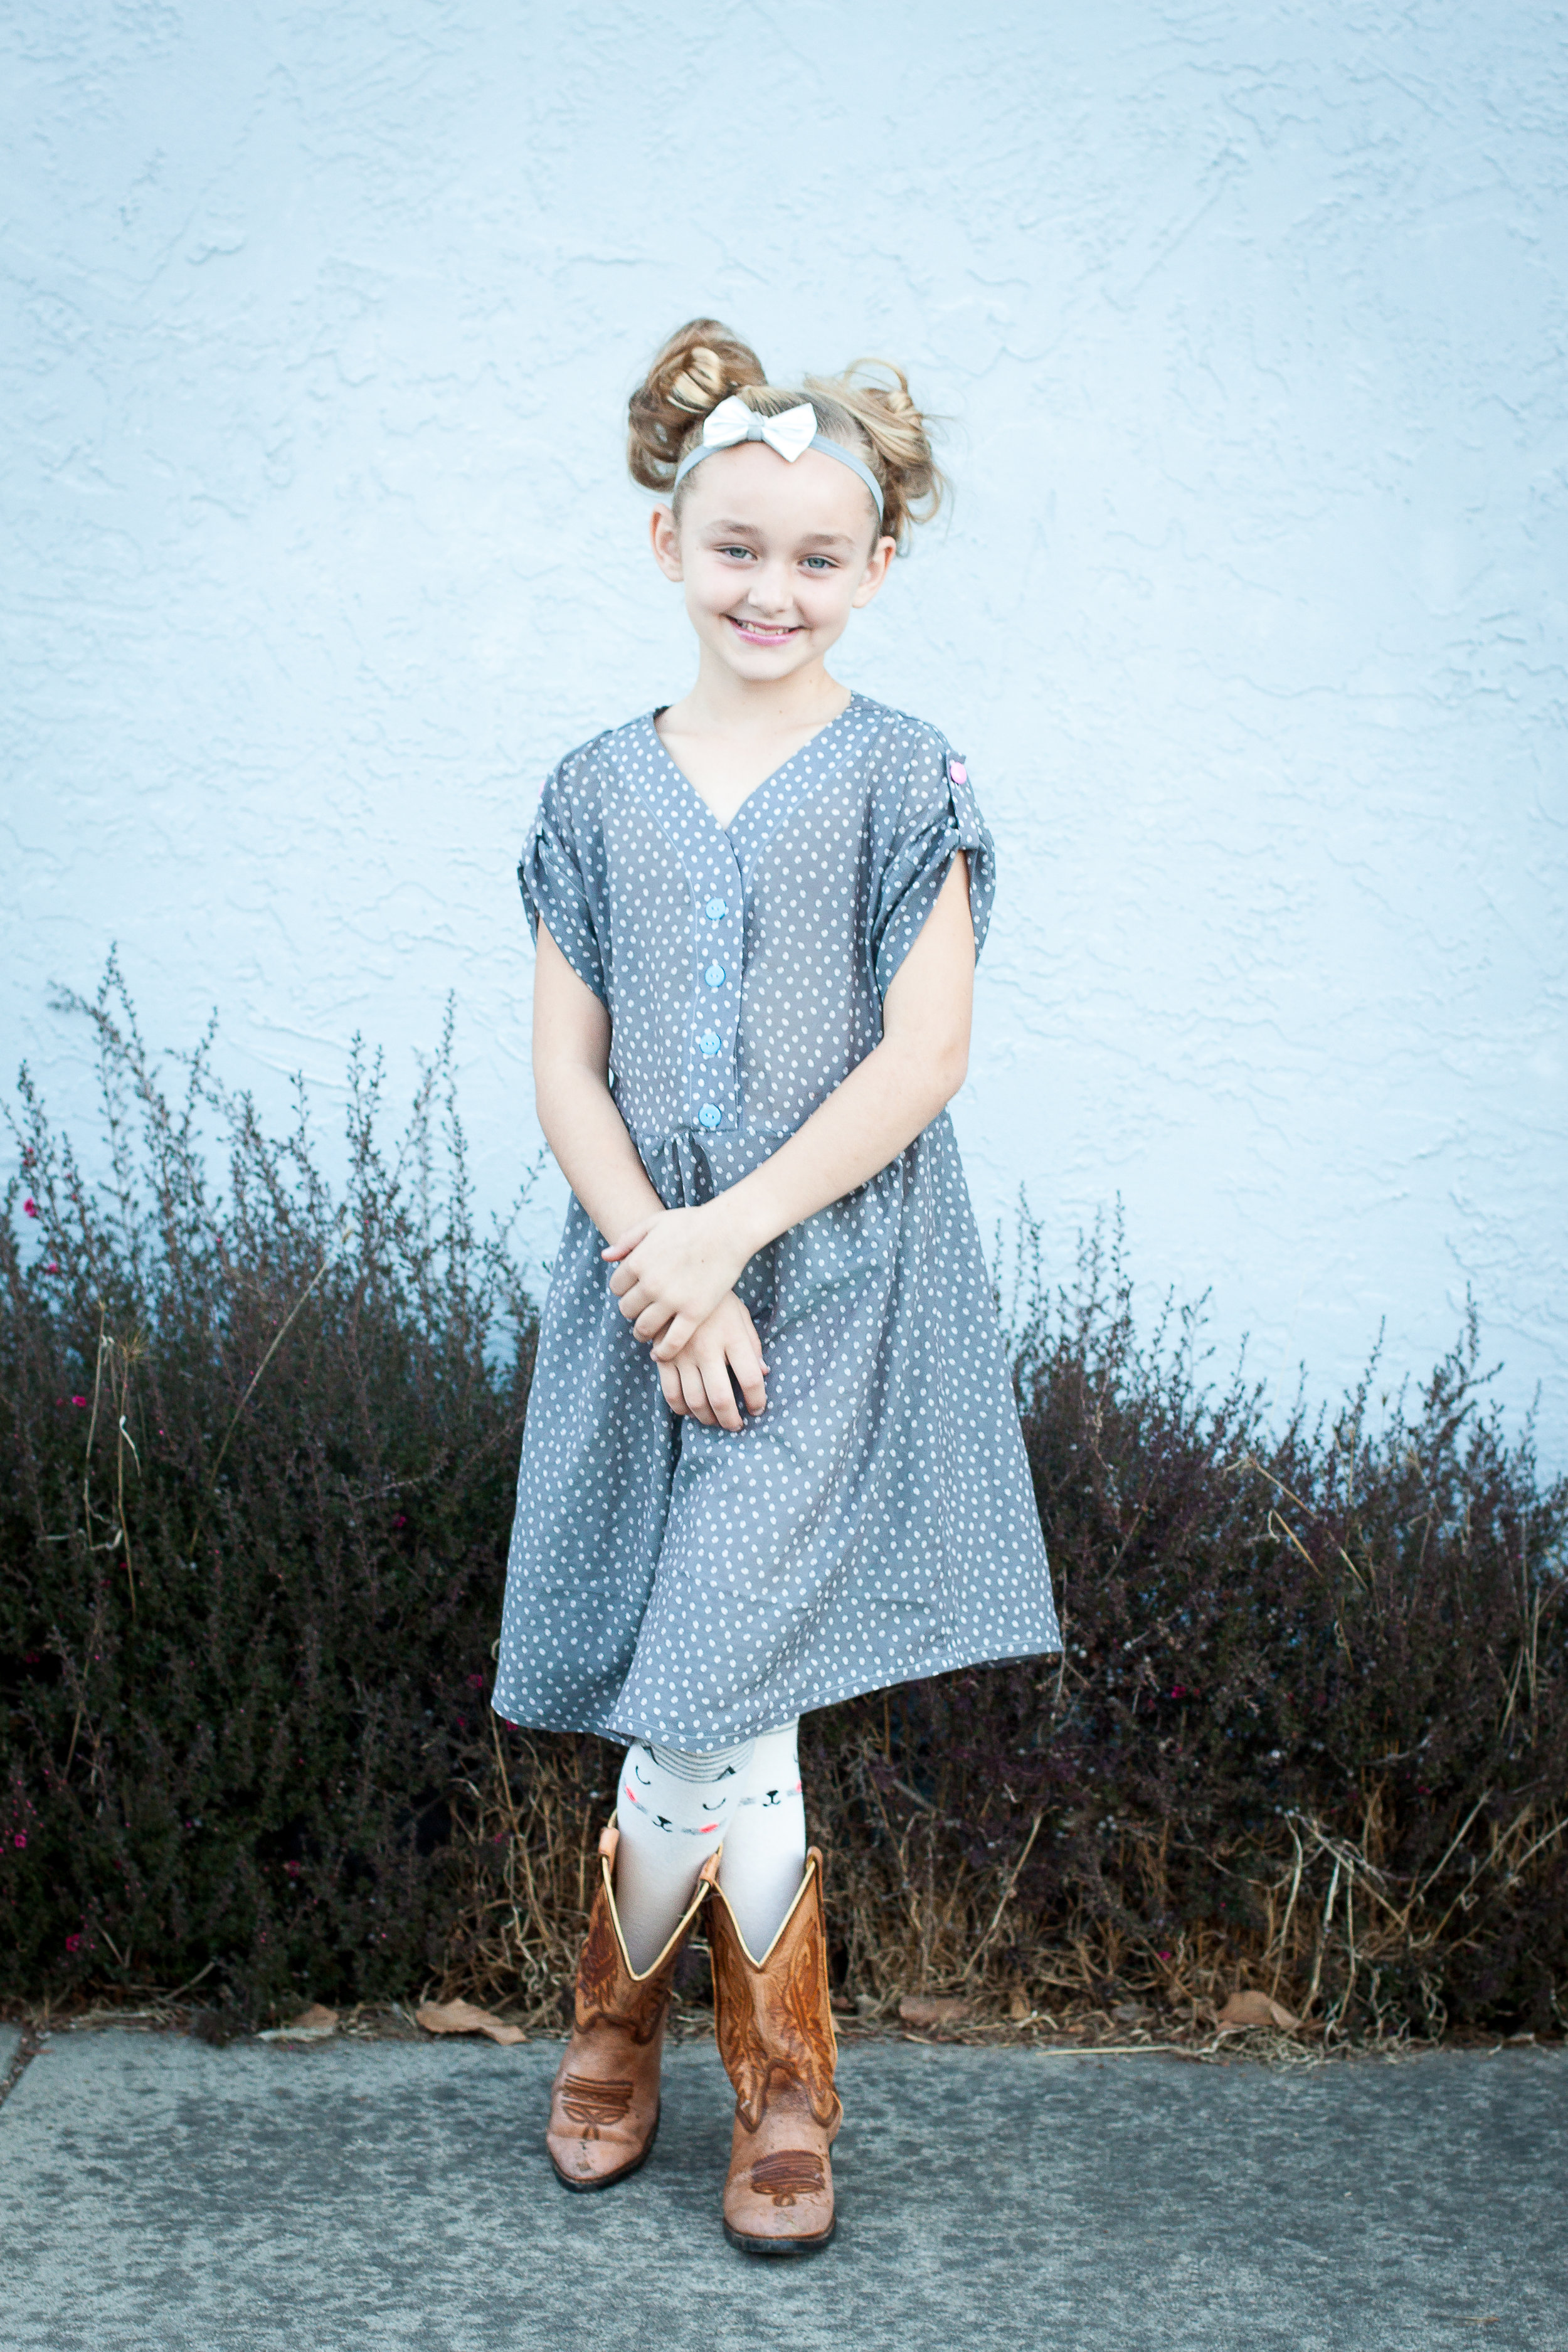

Linen Girls’ Fringe Dress
The first dress I made during giveaway week was this linen/linen blend version (both fabrics from JoAnn’s). Linen might be my favorite type of fabric, and this watercolor linen I have saved in my stash for an embarassing number of years as I have waited for just the right project to use it for. And I am so glad I waited! This dress turned out perfect!
As I did with my candy cane inspired Fringe Dress, I used the facing pattern piece, added a seam allowance, and cut out the neck yoke. I then cut out from the dress the facing pattern piece minus the seam allowance along the neckline from both bodice front pieces and the back piece neckline. This allowed me to make a contrasting neckline that was the same size/shape of the patterns original neckline.
I made the ties extra thick and long in length so they could wrap around her back and be tied in the front.
I also added snaps instead of buttons and button holes. I really like the clean look of snaps, not to mention they are easy to insert. I used one less snap than the pattern called for in buttons with no gaping issues.
The hemline of the skirt is not the iconic hemline of the Fringe Dress but straight across the bottom.
This might be my daughter’s favorite of all the versions, although she struggled to pick just one!
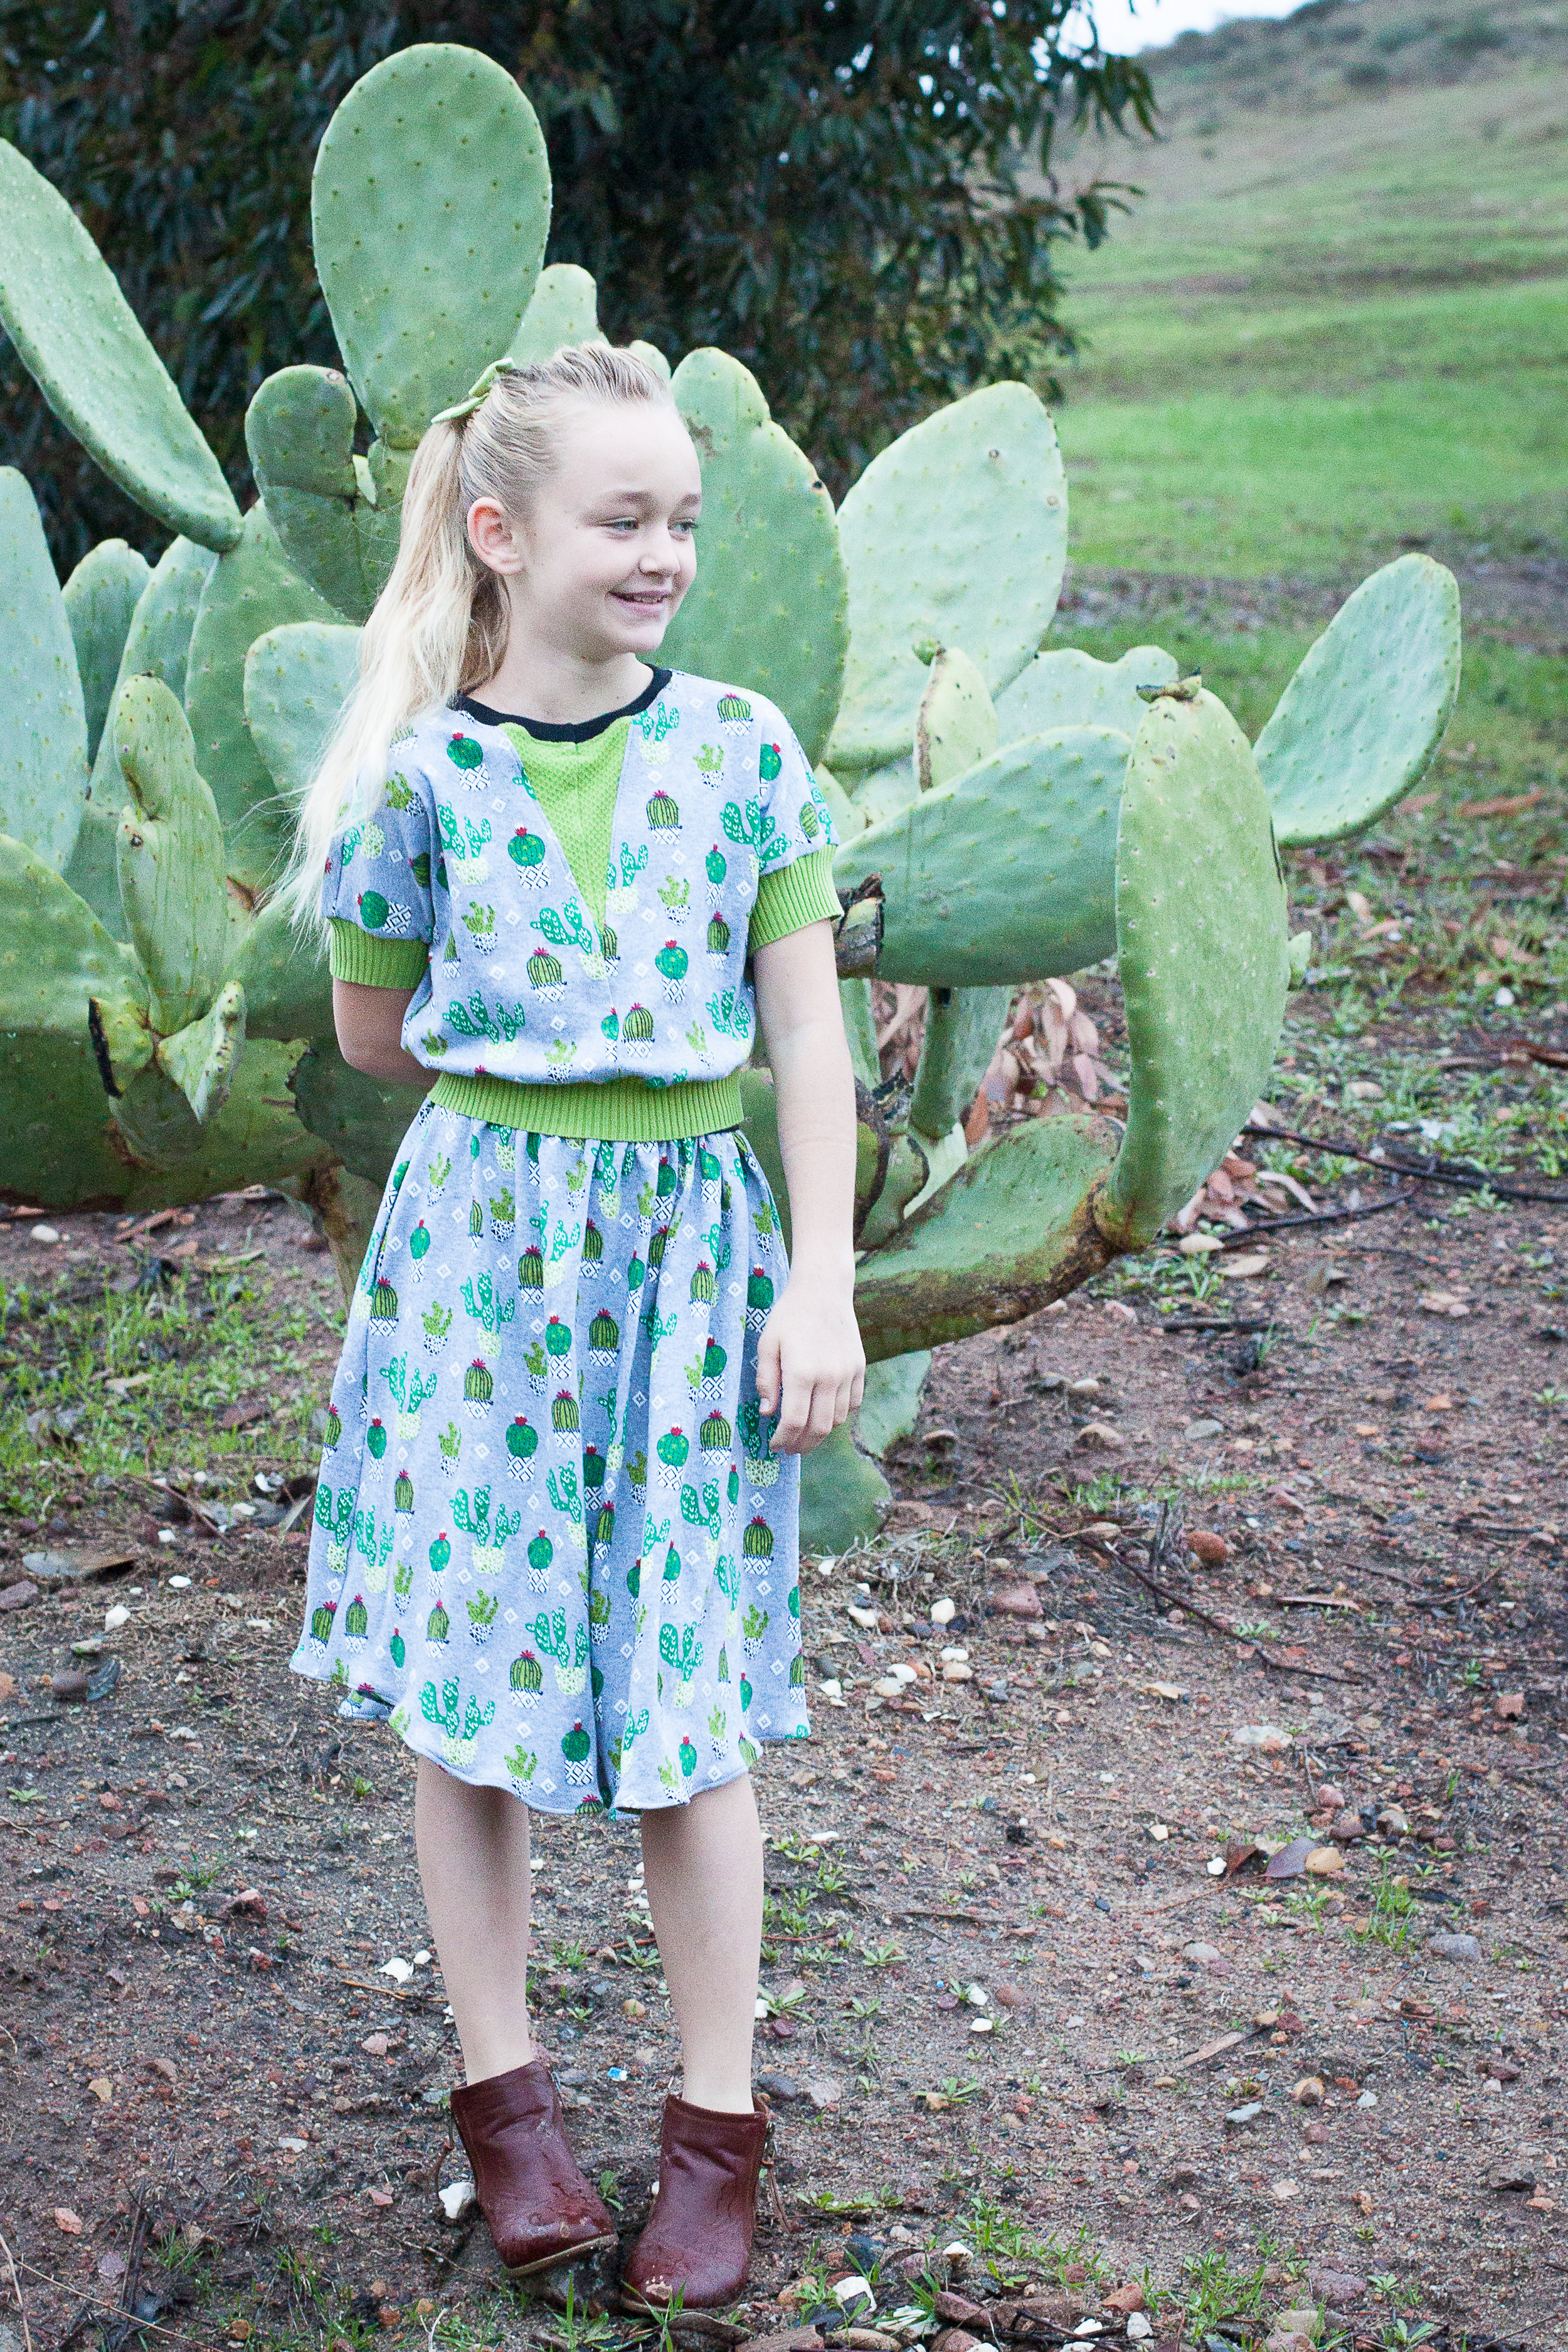
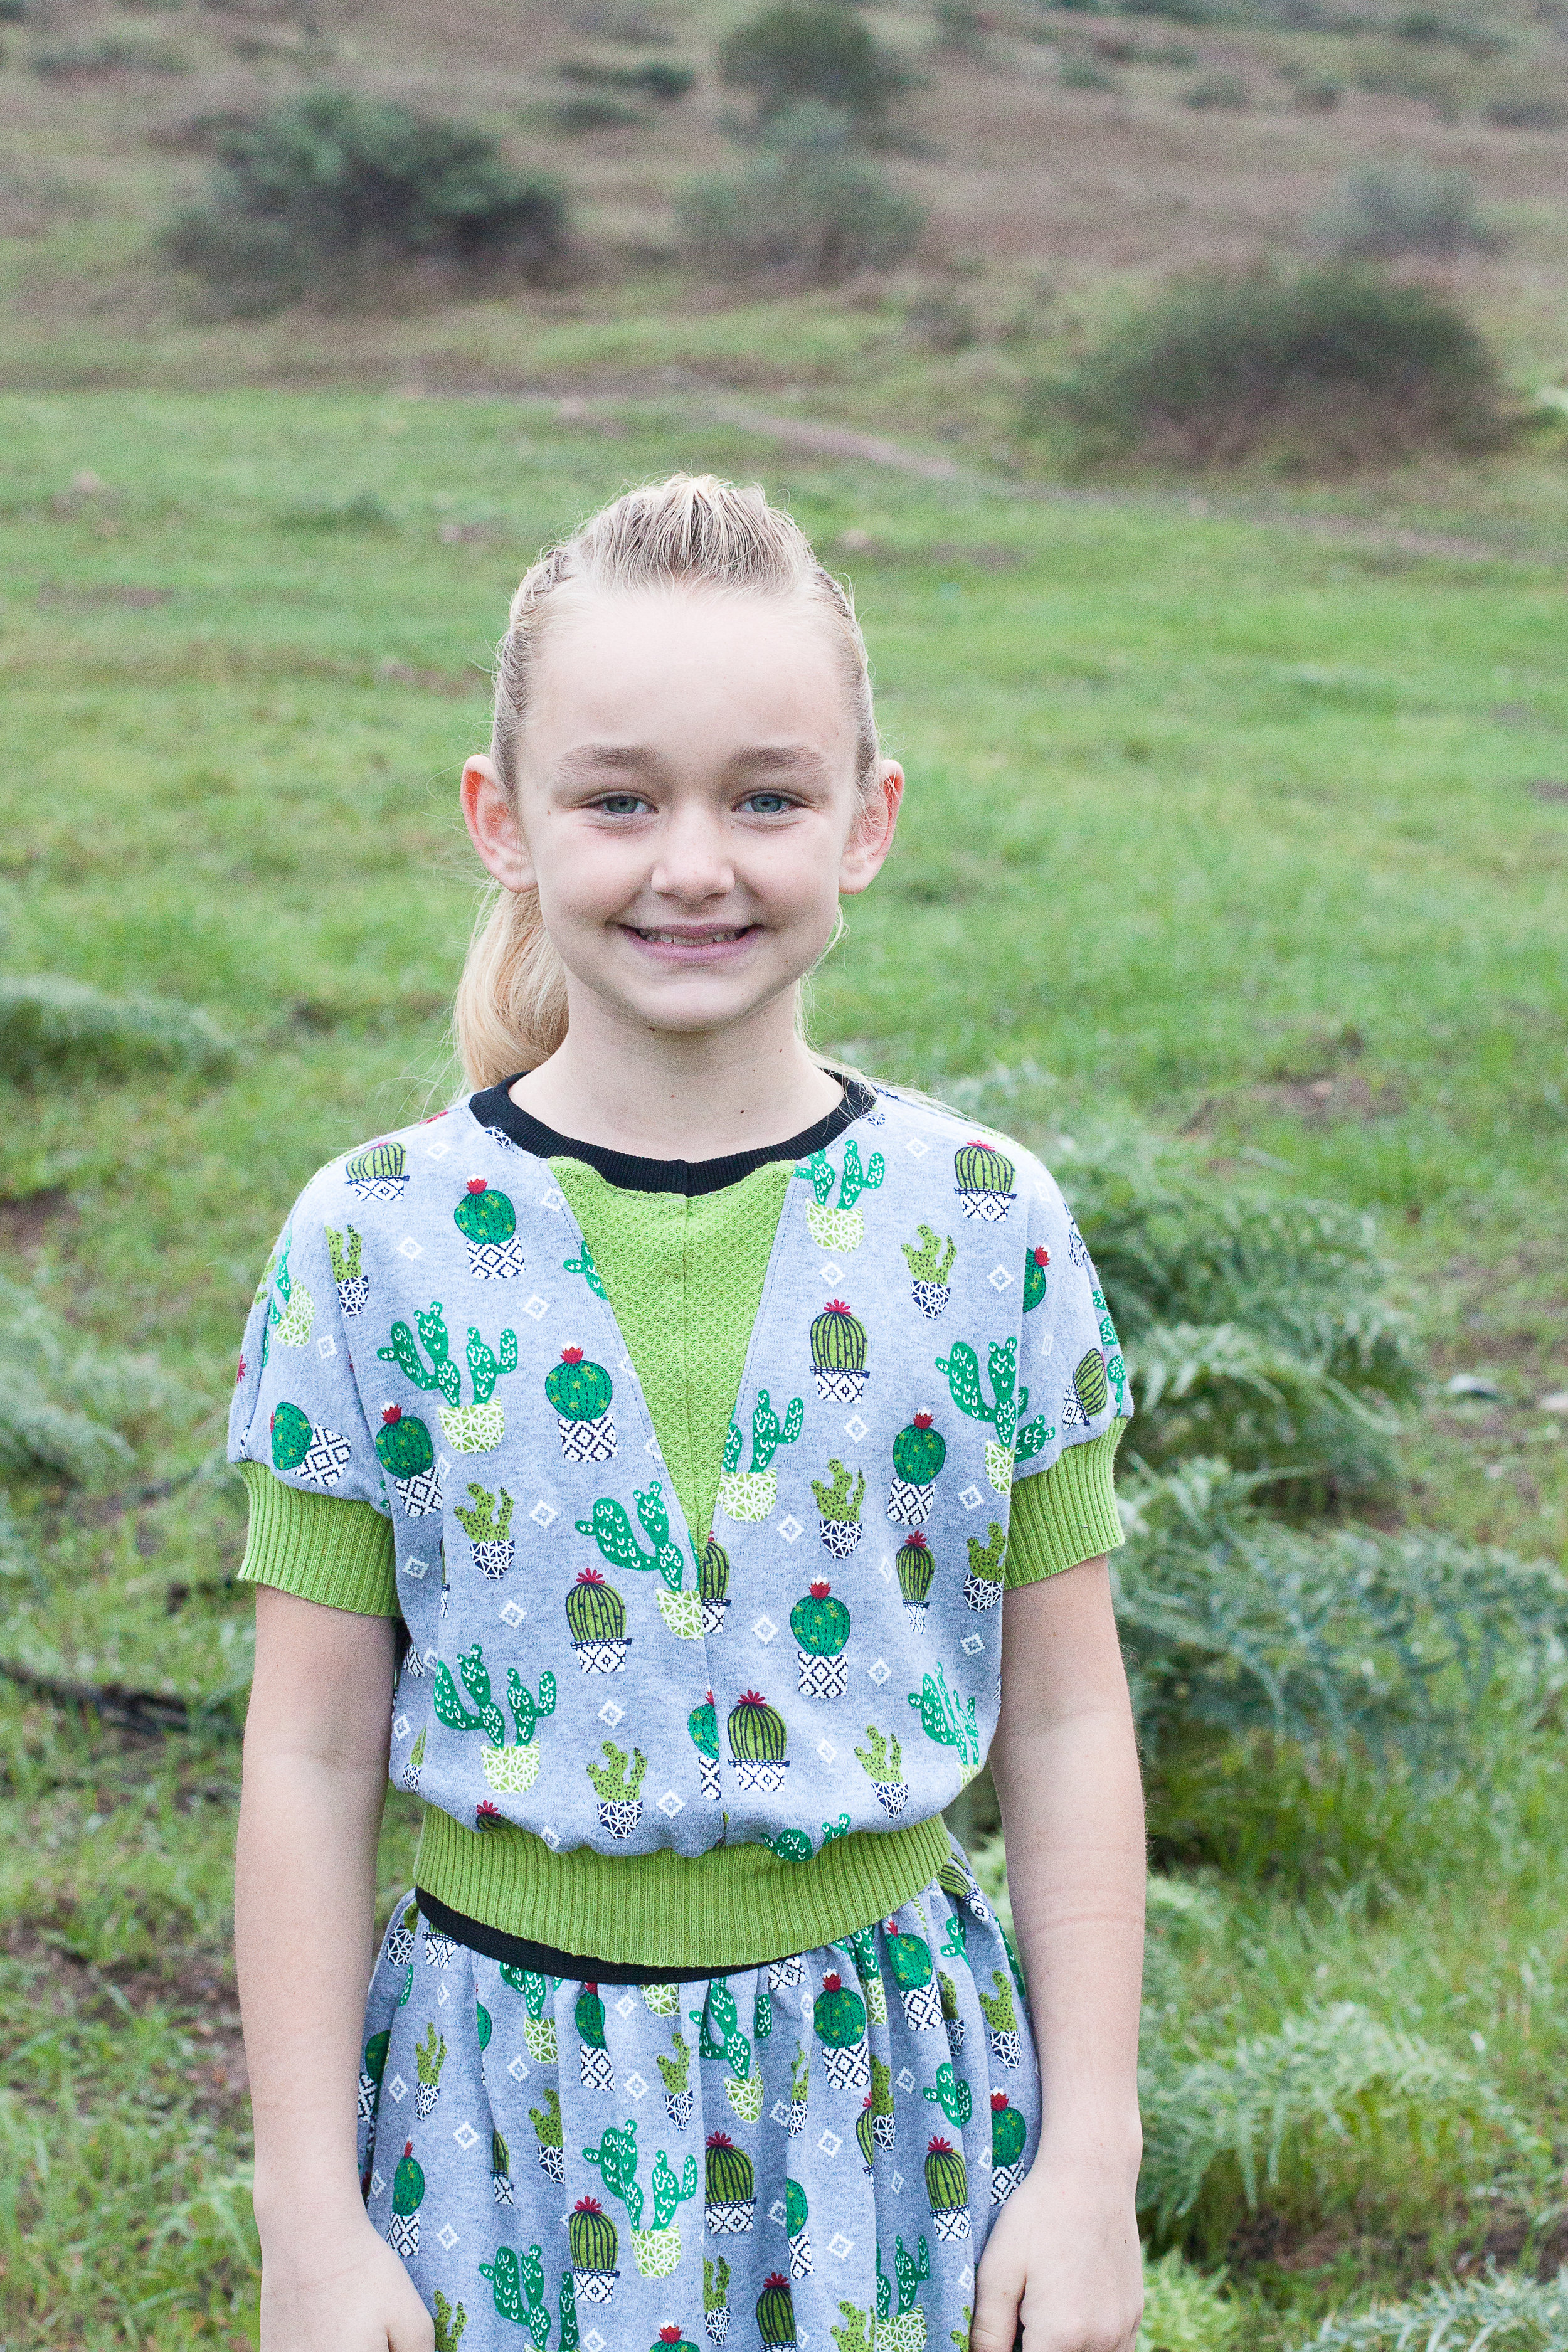
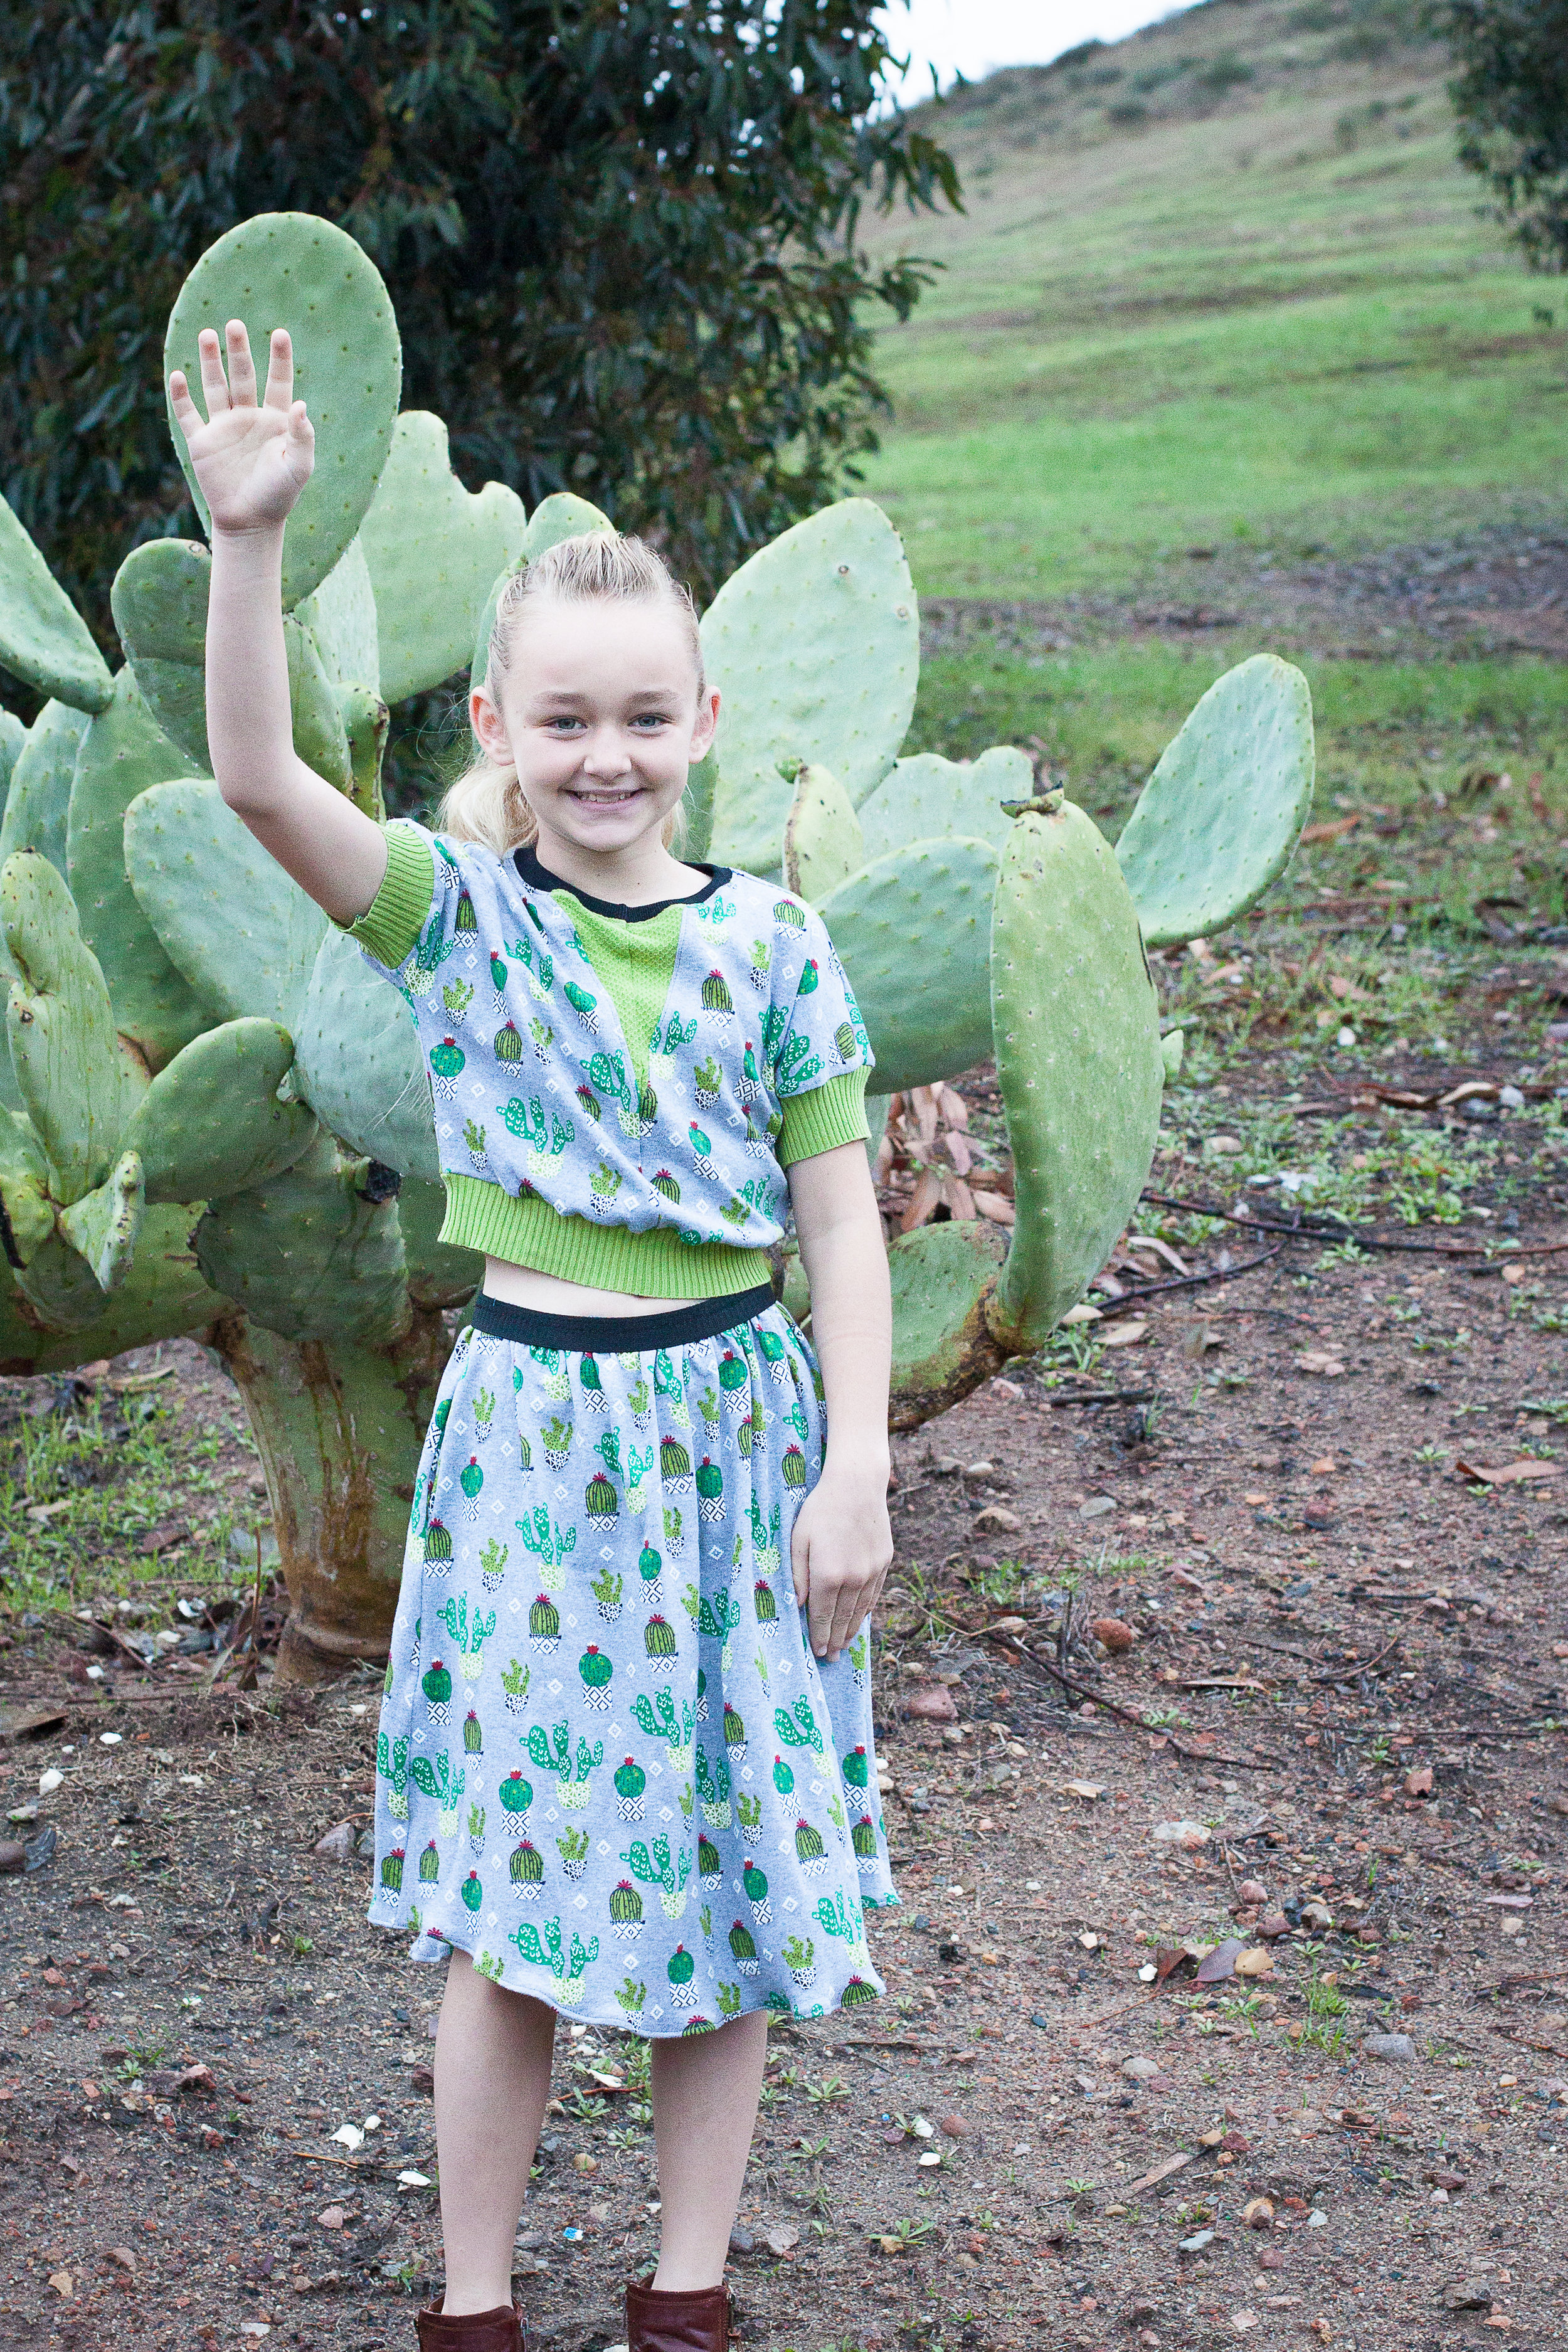
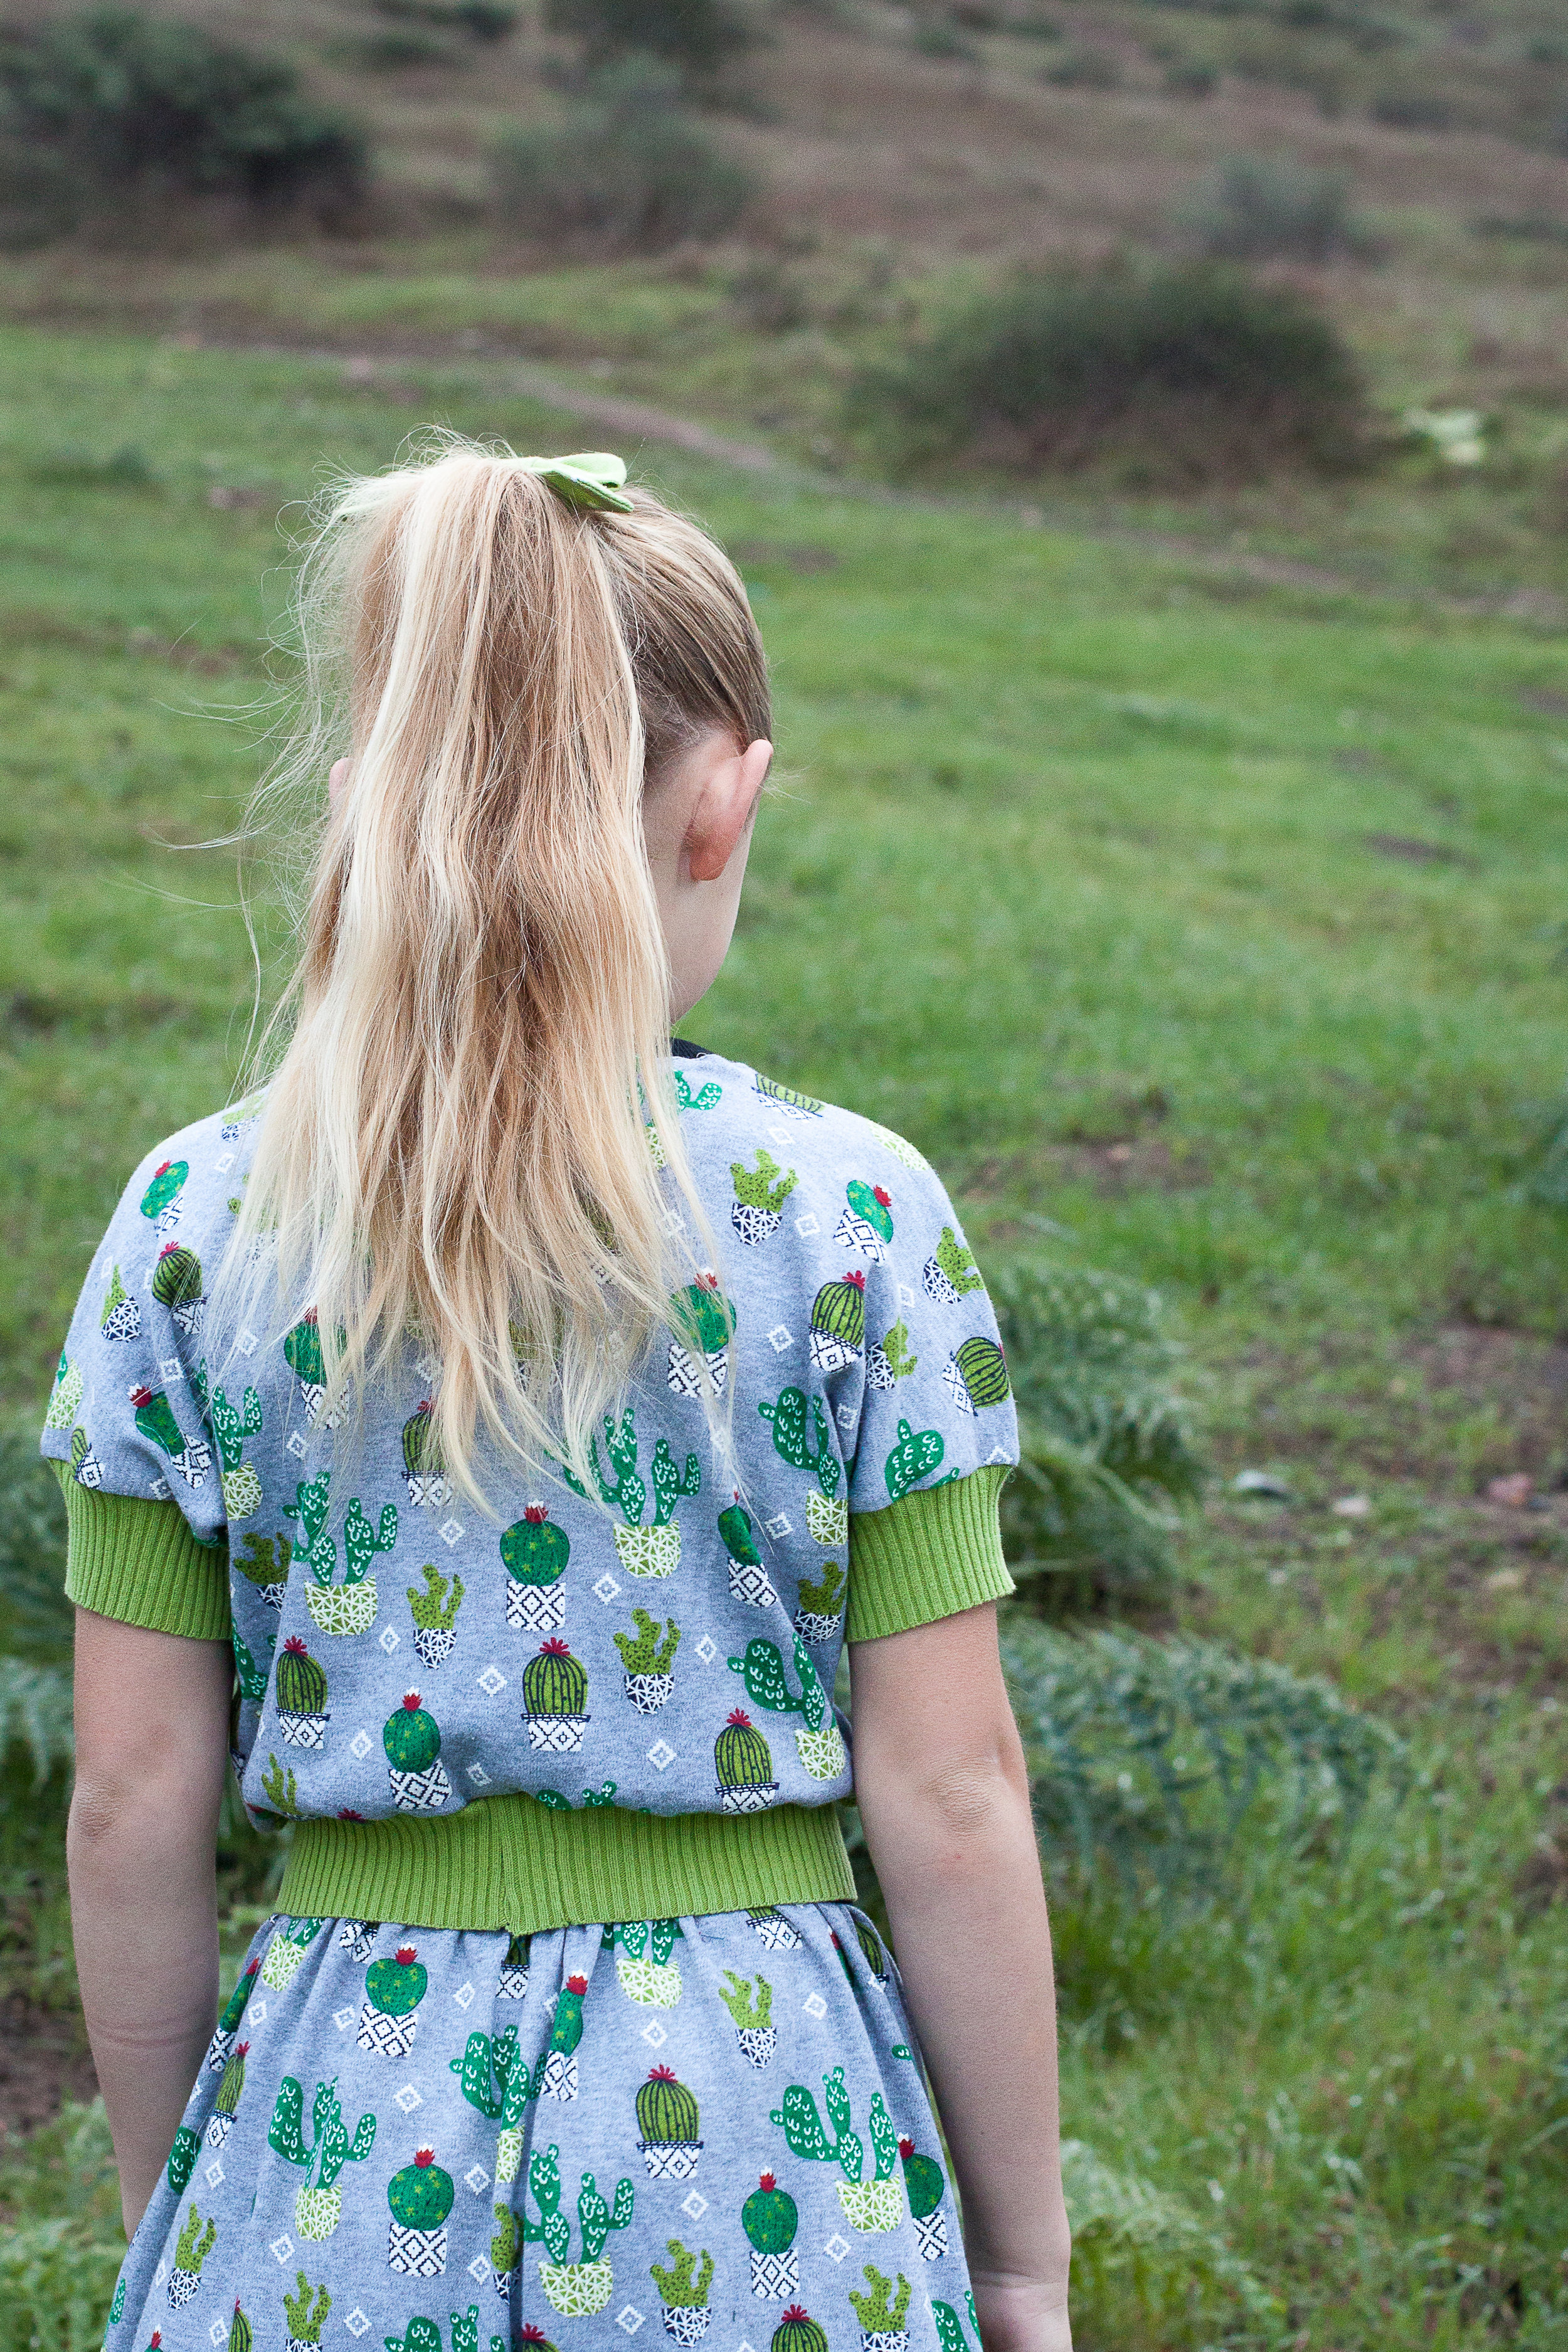
The second of the Girl’s Fringe Dresses during giveaway week was a knit, 2 piece version.

Knit, 2 Piece Girls’ Fringe
I knew I wanted to try this dress in knit. I was excited when I thought about making a two piece and consequently getting more wear from both pieces. The top includes a color blocked refashion of an old banana republic sweater of mine that I have had 10+ years.
I used view B and eliminated the notched neckline and instead cut it out to be a crew neck. I cut out a neckband accordingly . I also lengthened the sleeves.
The bottom is an elastic waistband, gathered skirt with pockets.
This fabric is also the perfect companion to the dress. Dreaming, whimsical, and an ode to our loved San Diego desert.


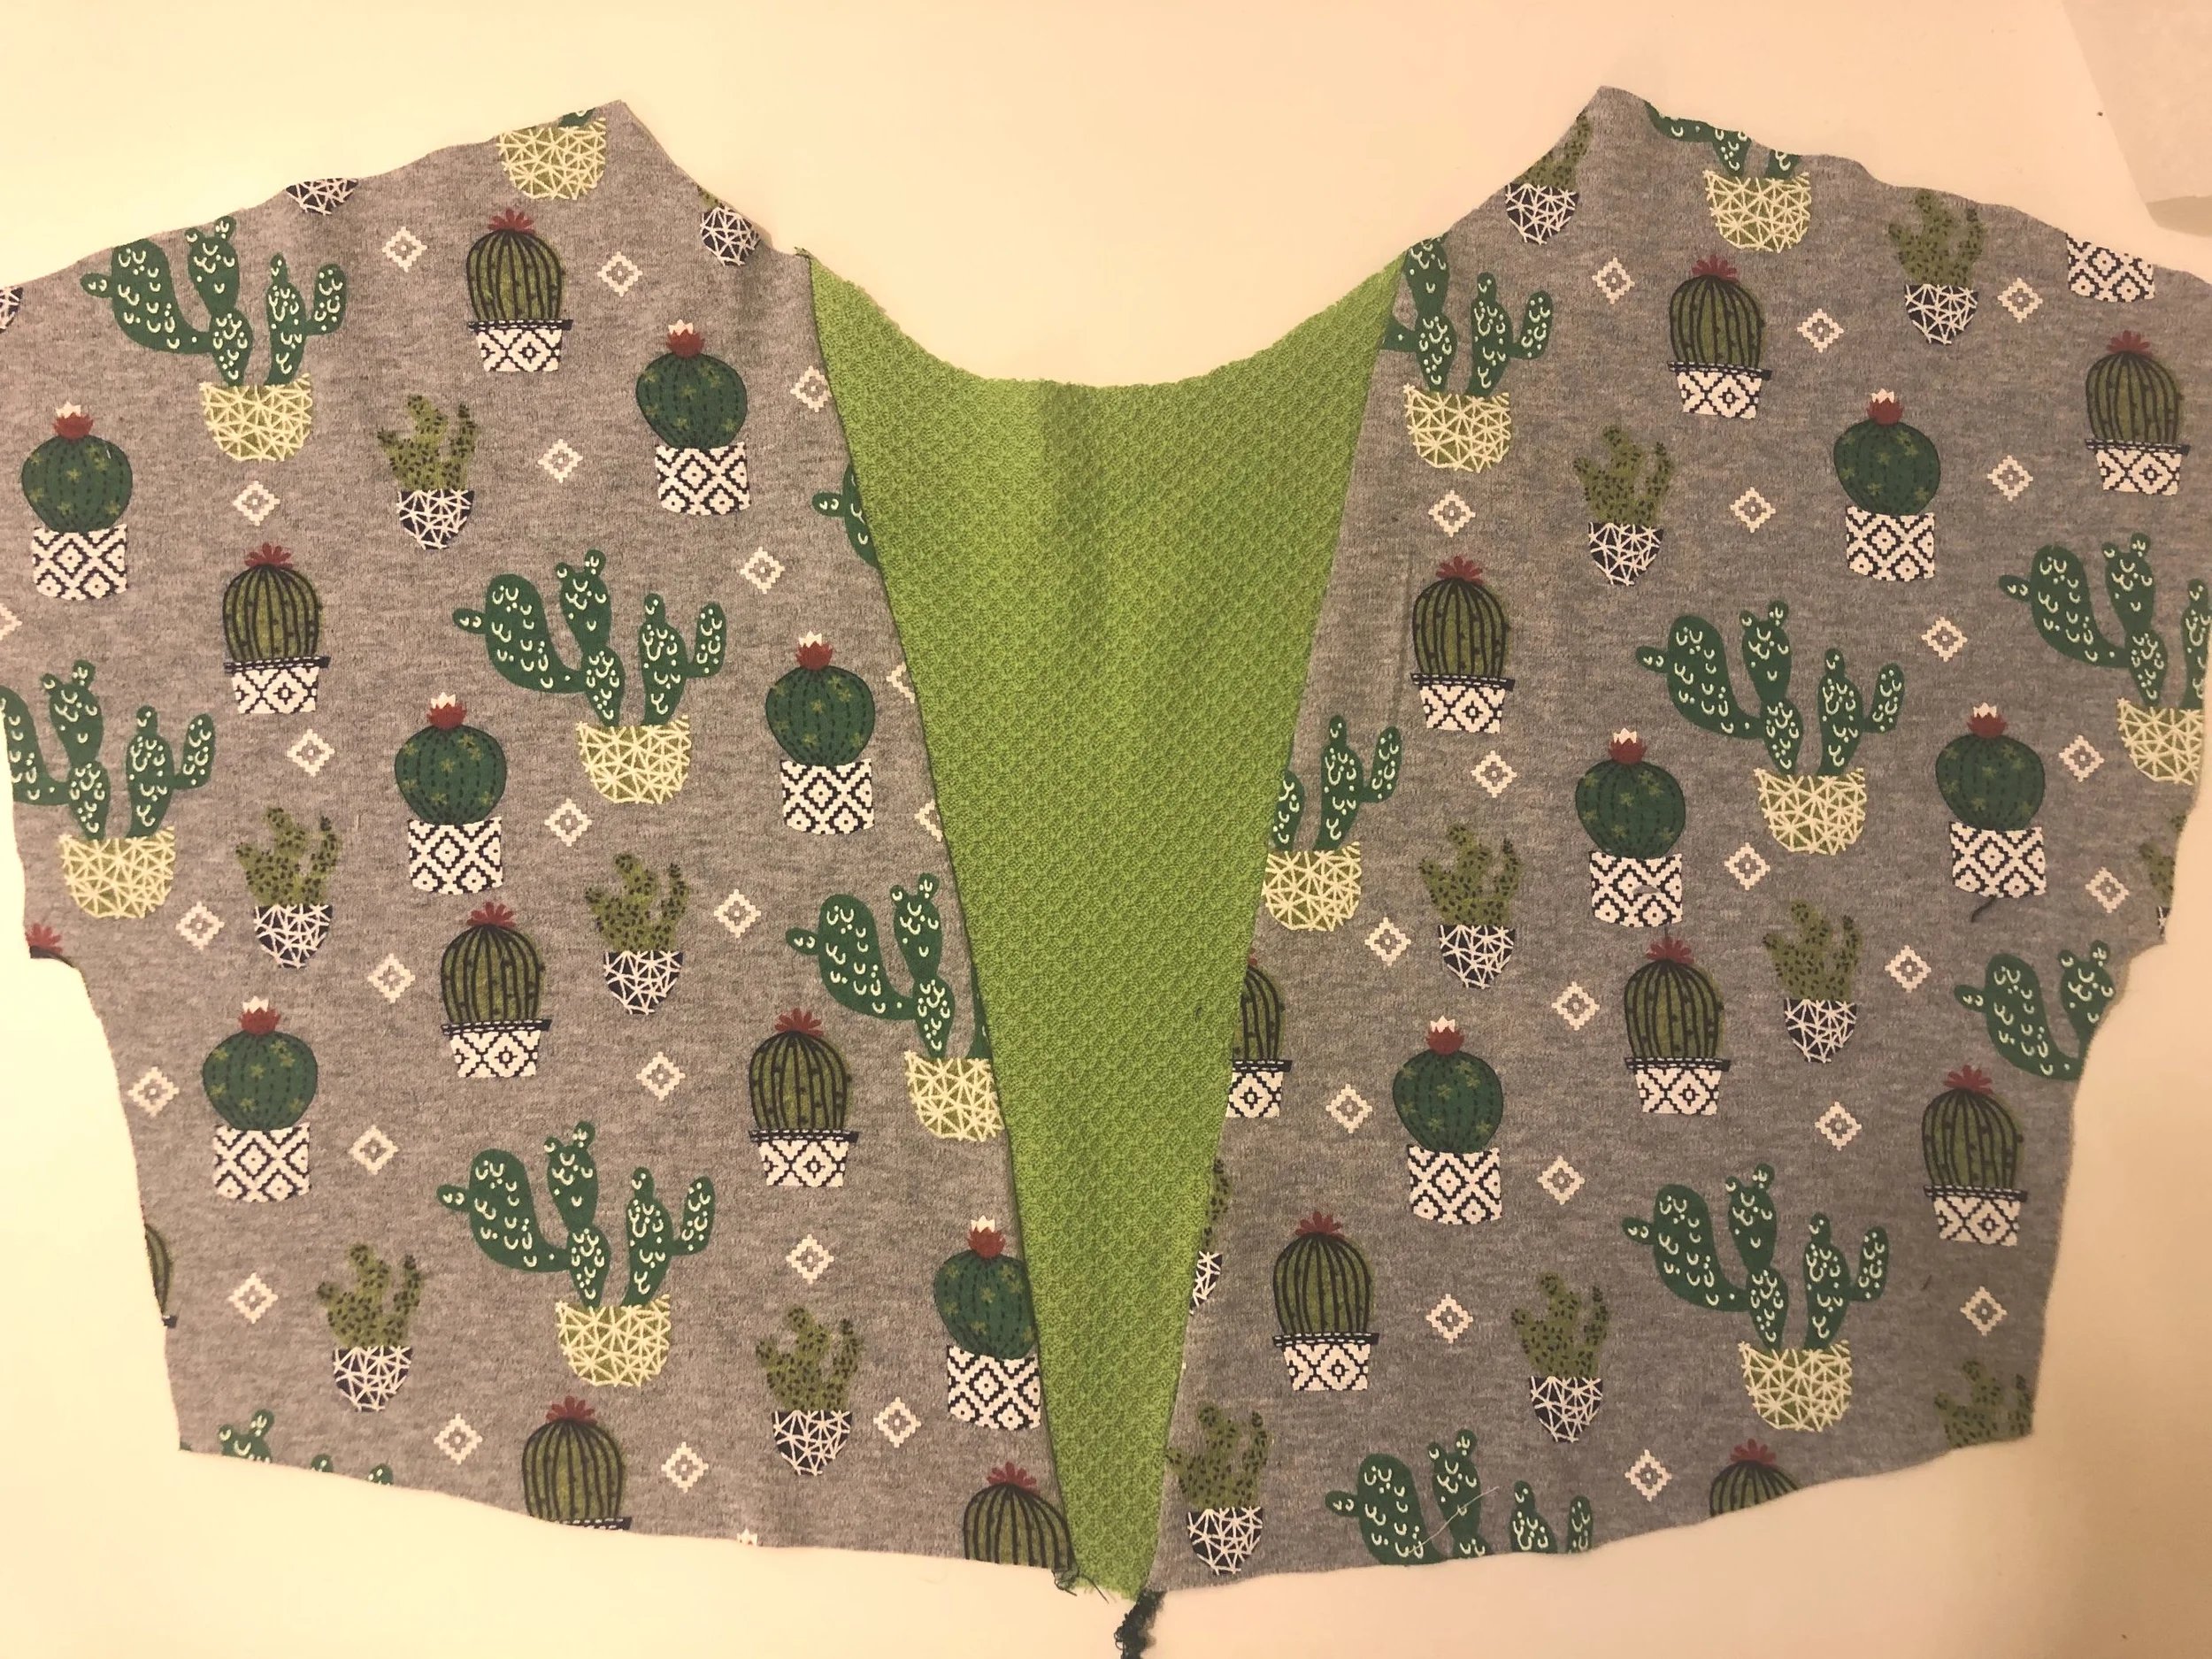
If you click on each pictures above you can read a simple step by step instruction of how I cut out the bodice.
The third version of the Girls’ Fringe Dress, I knew I wanted to turn it into a maxi. I love the option of a long skirt on chillier mornings, and my daughter currently doesn’t own any.

Maxi Length Girls’ Fringe
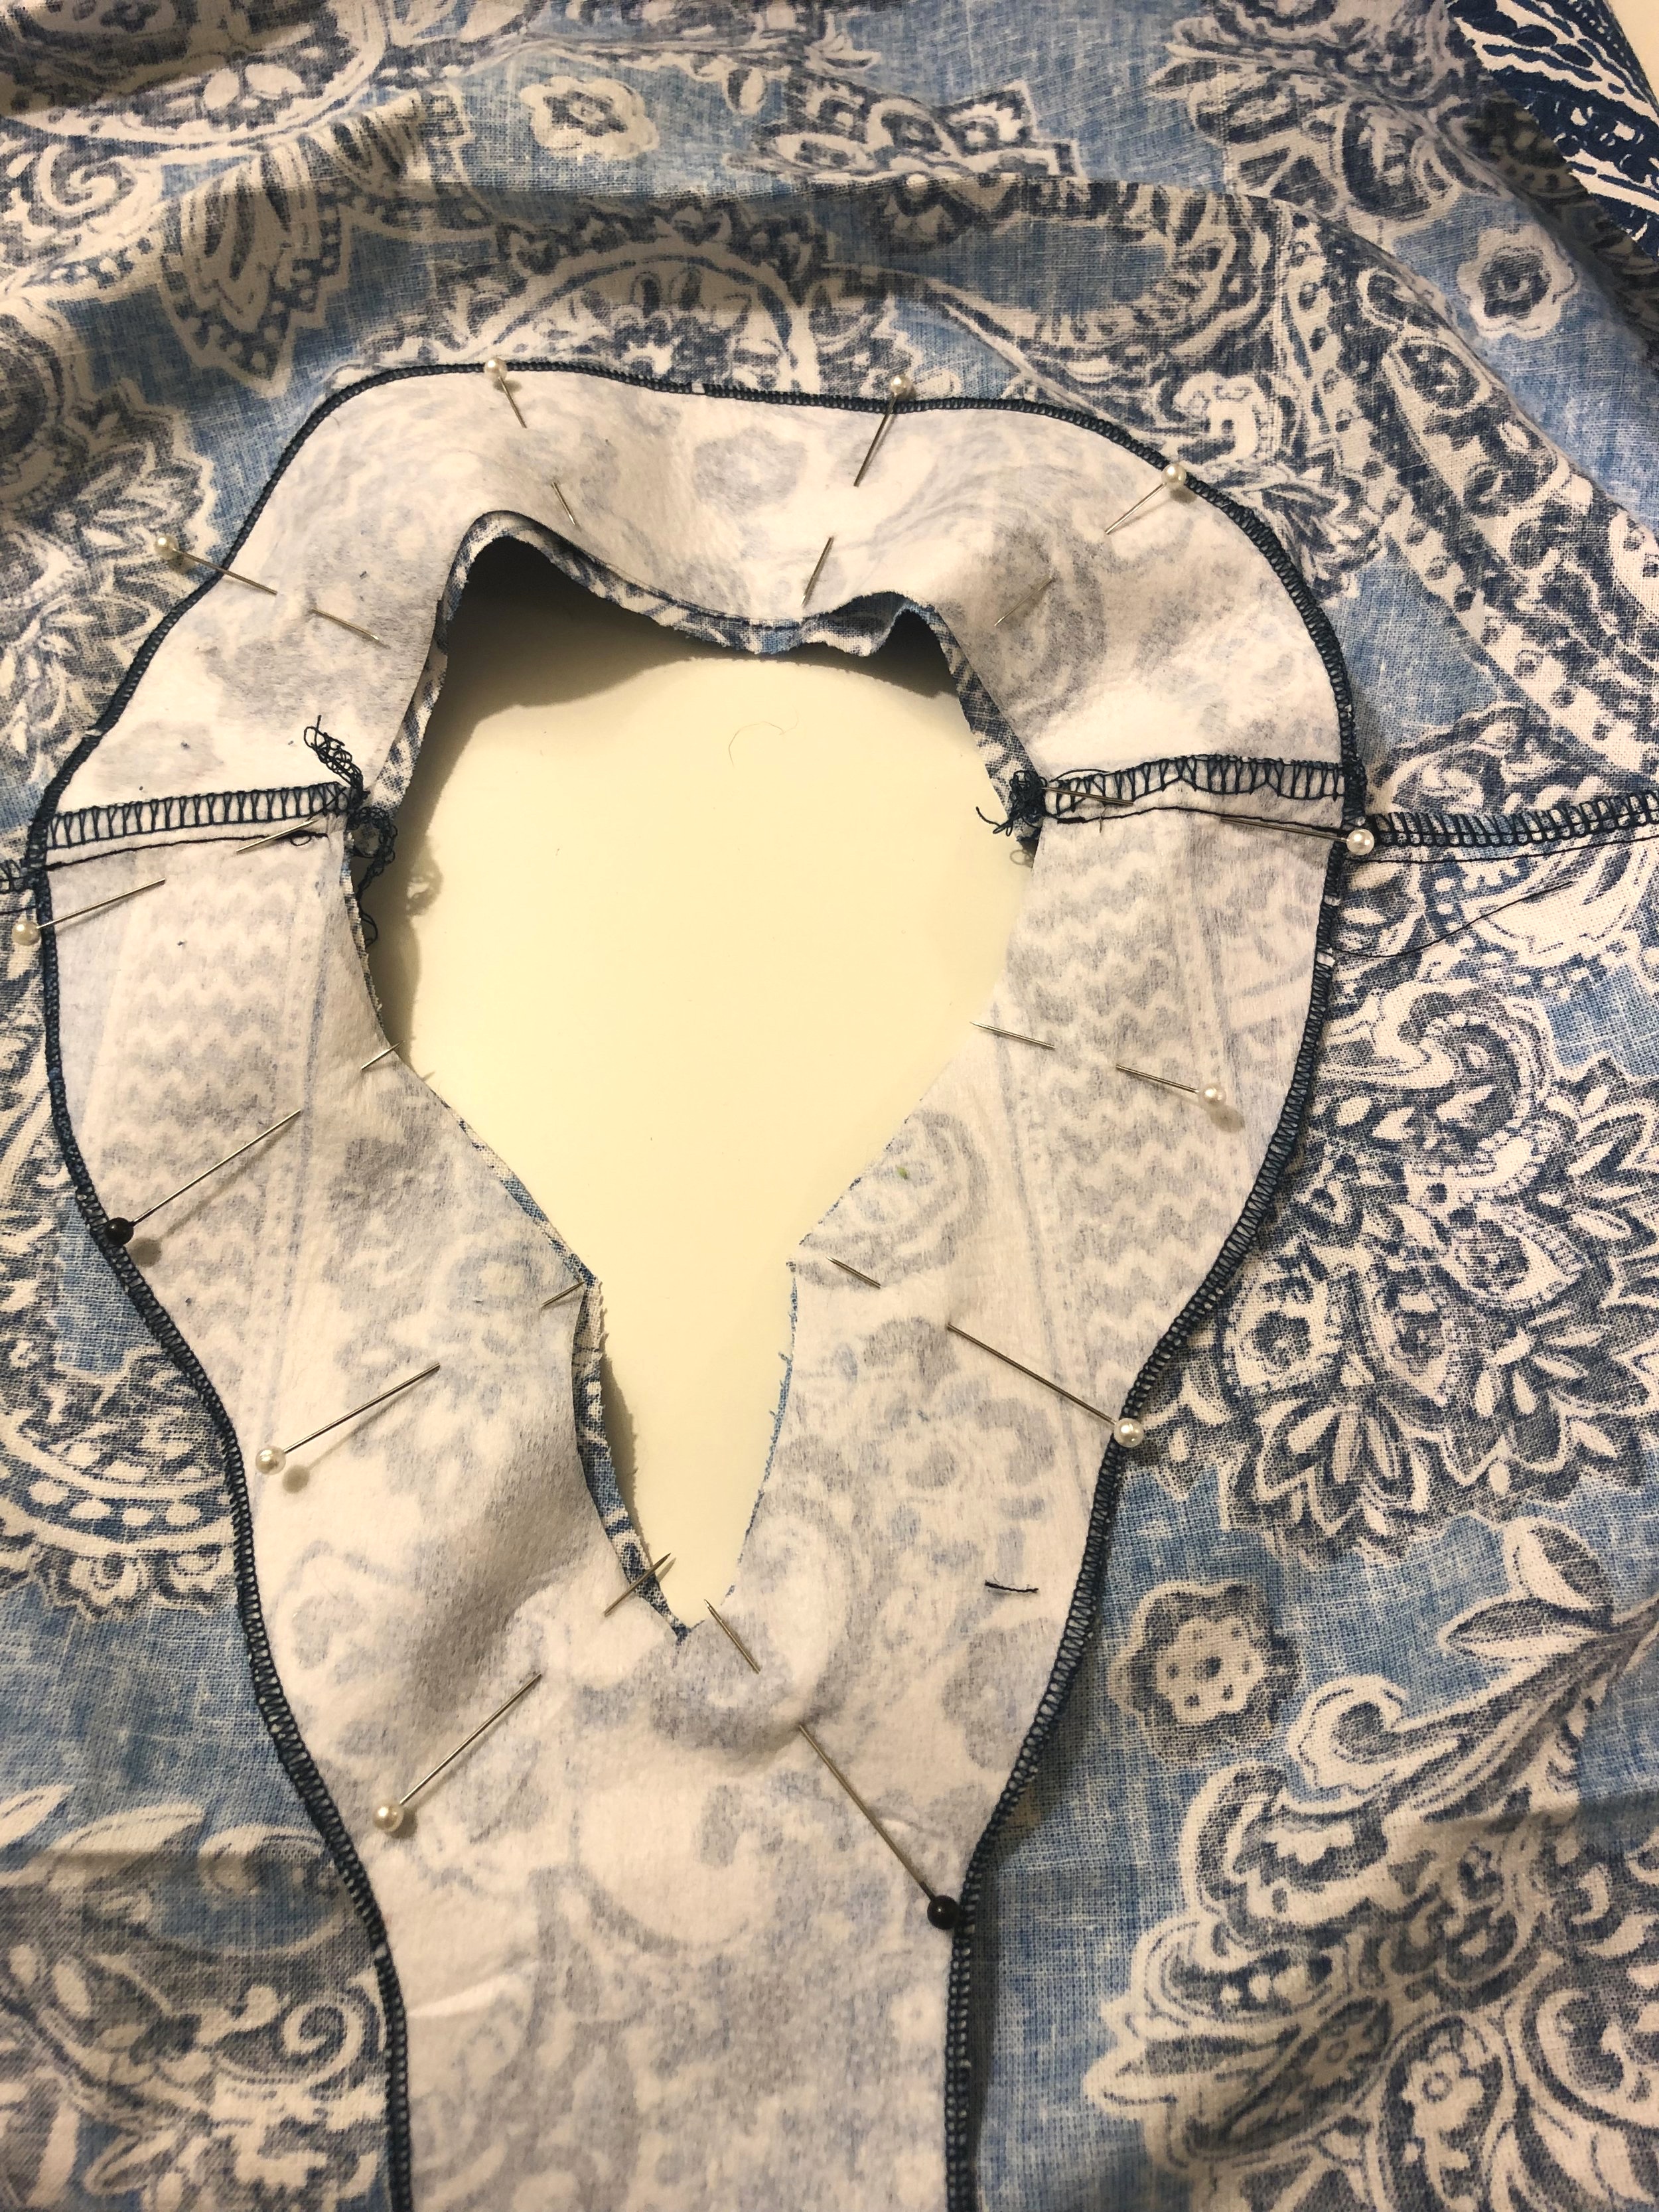
Besides the length of this Fringe, the biggest style feature is the neckline. I thought long and hard about how I could put a collar on the notched view (View B) of the Girls’ Fringe Dress. In the end, I realized if I sew the neck facing on the outside of the dress instead of the inside I could create a similar effect to a collar.
I love how this neckline turned out. I set up my serger to do a rolled hem and ran it along the outside of the facing. I laid the facing right side to wrong side of the bodice and stitched along the neckline (see photo below). I then flipped the facing to the right side so it was right side up on the right side of the front and back panels and ran an edge stitch along the facing to attaching it to the bodice.
I also lengthened the bodice as seen below.
This might have been our most fun/cold photo shoot, which I was grateful for as my model was pretty tired of me dragging her outside at this point!


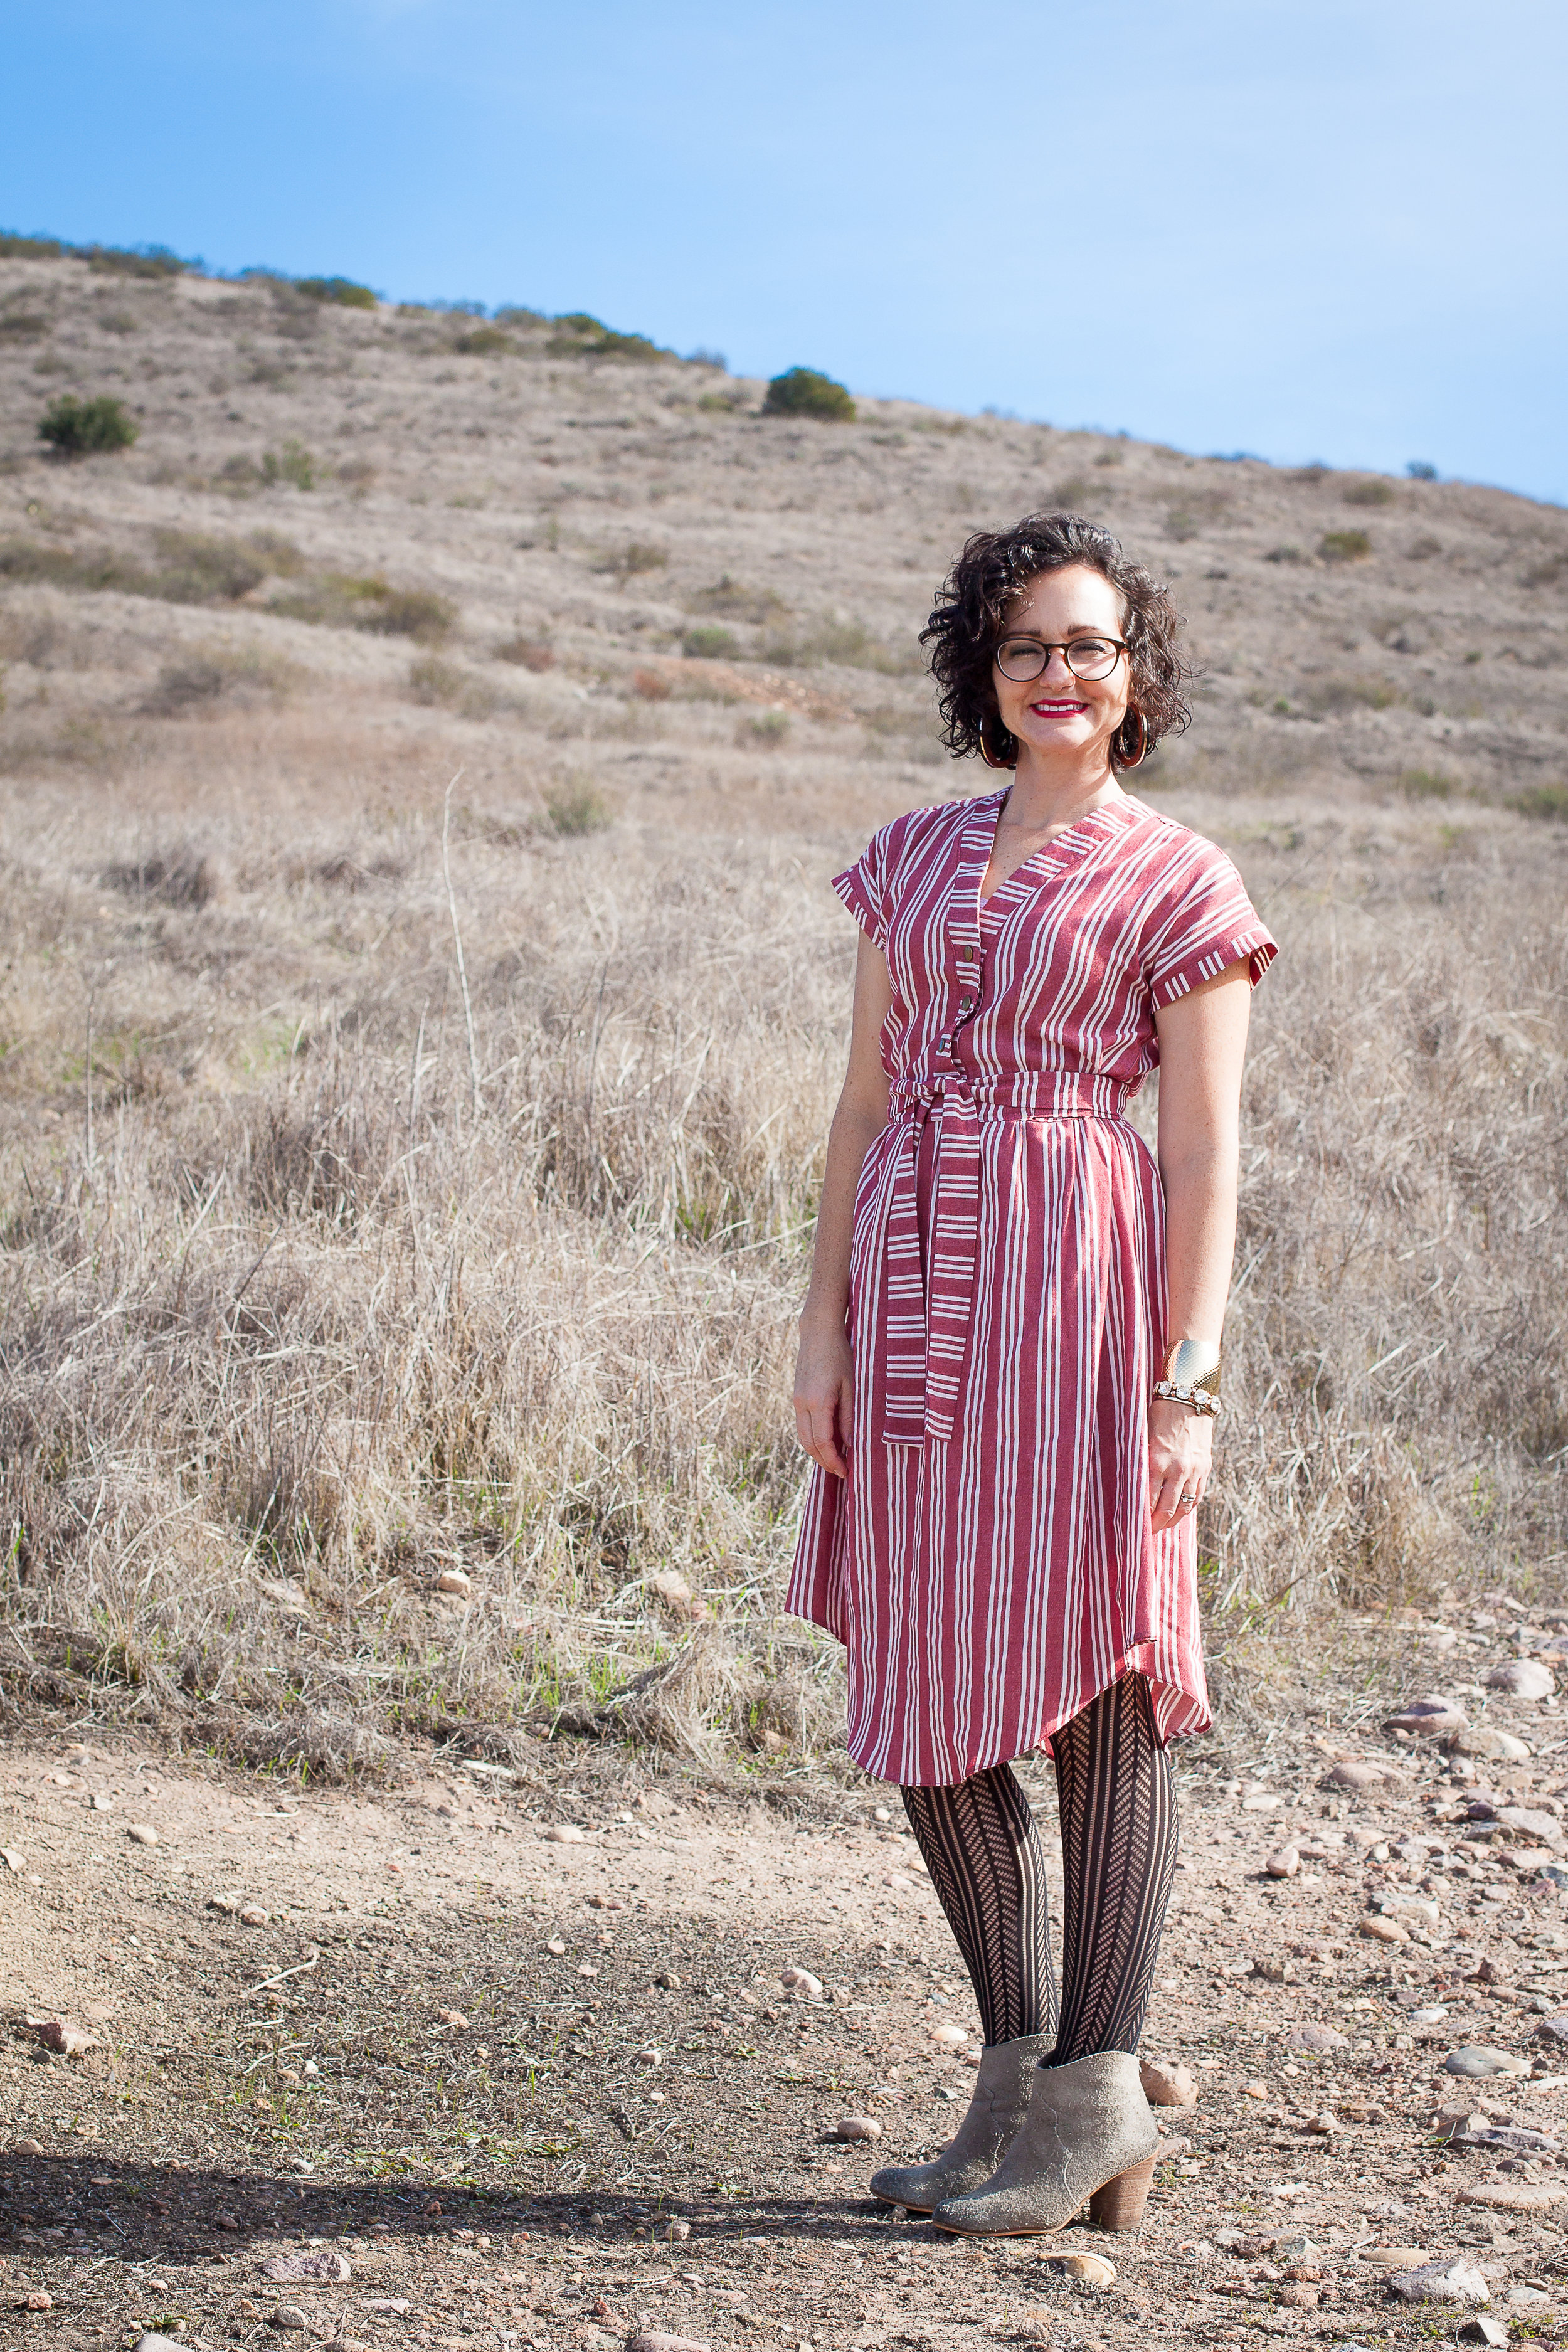
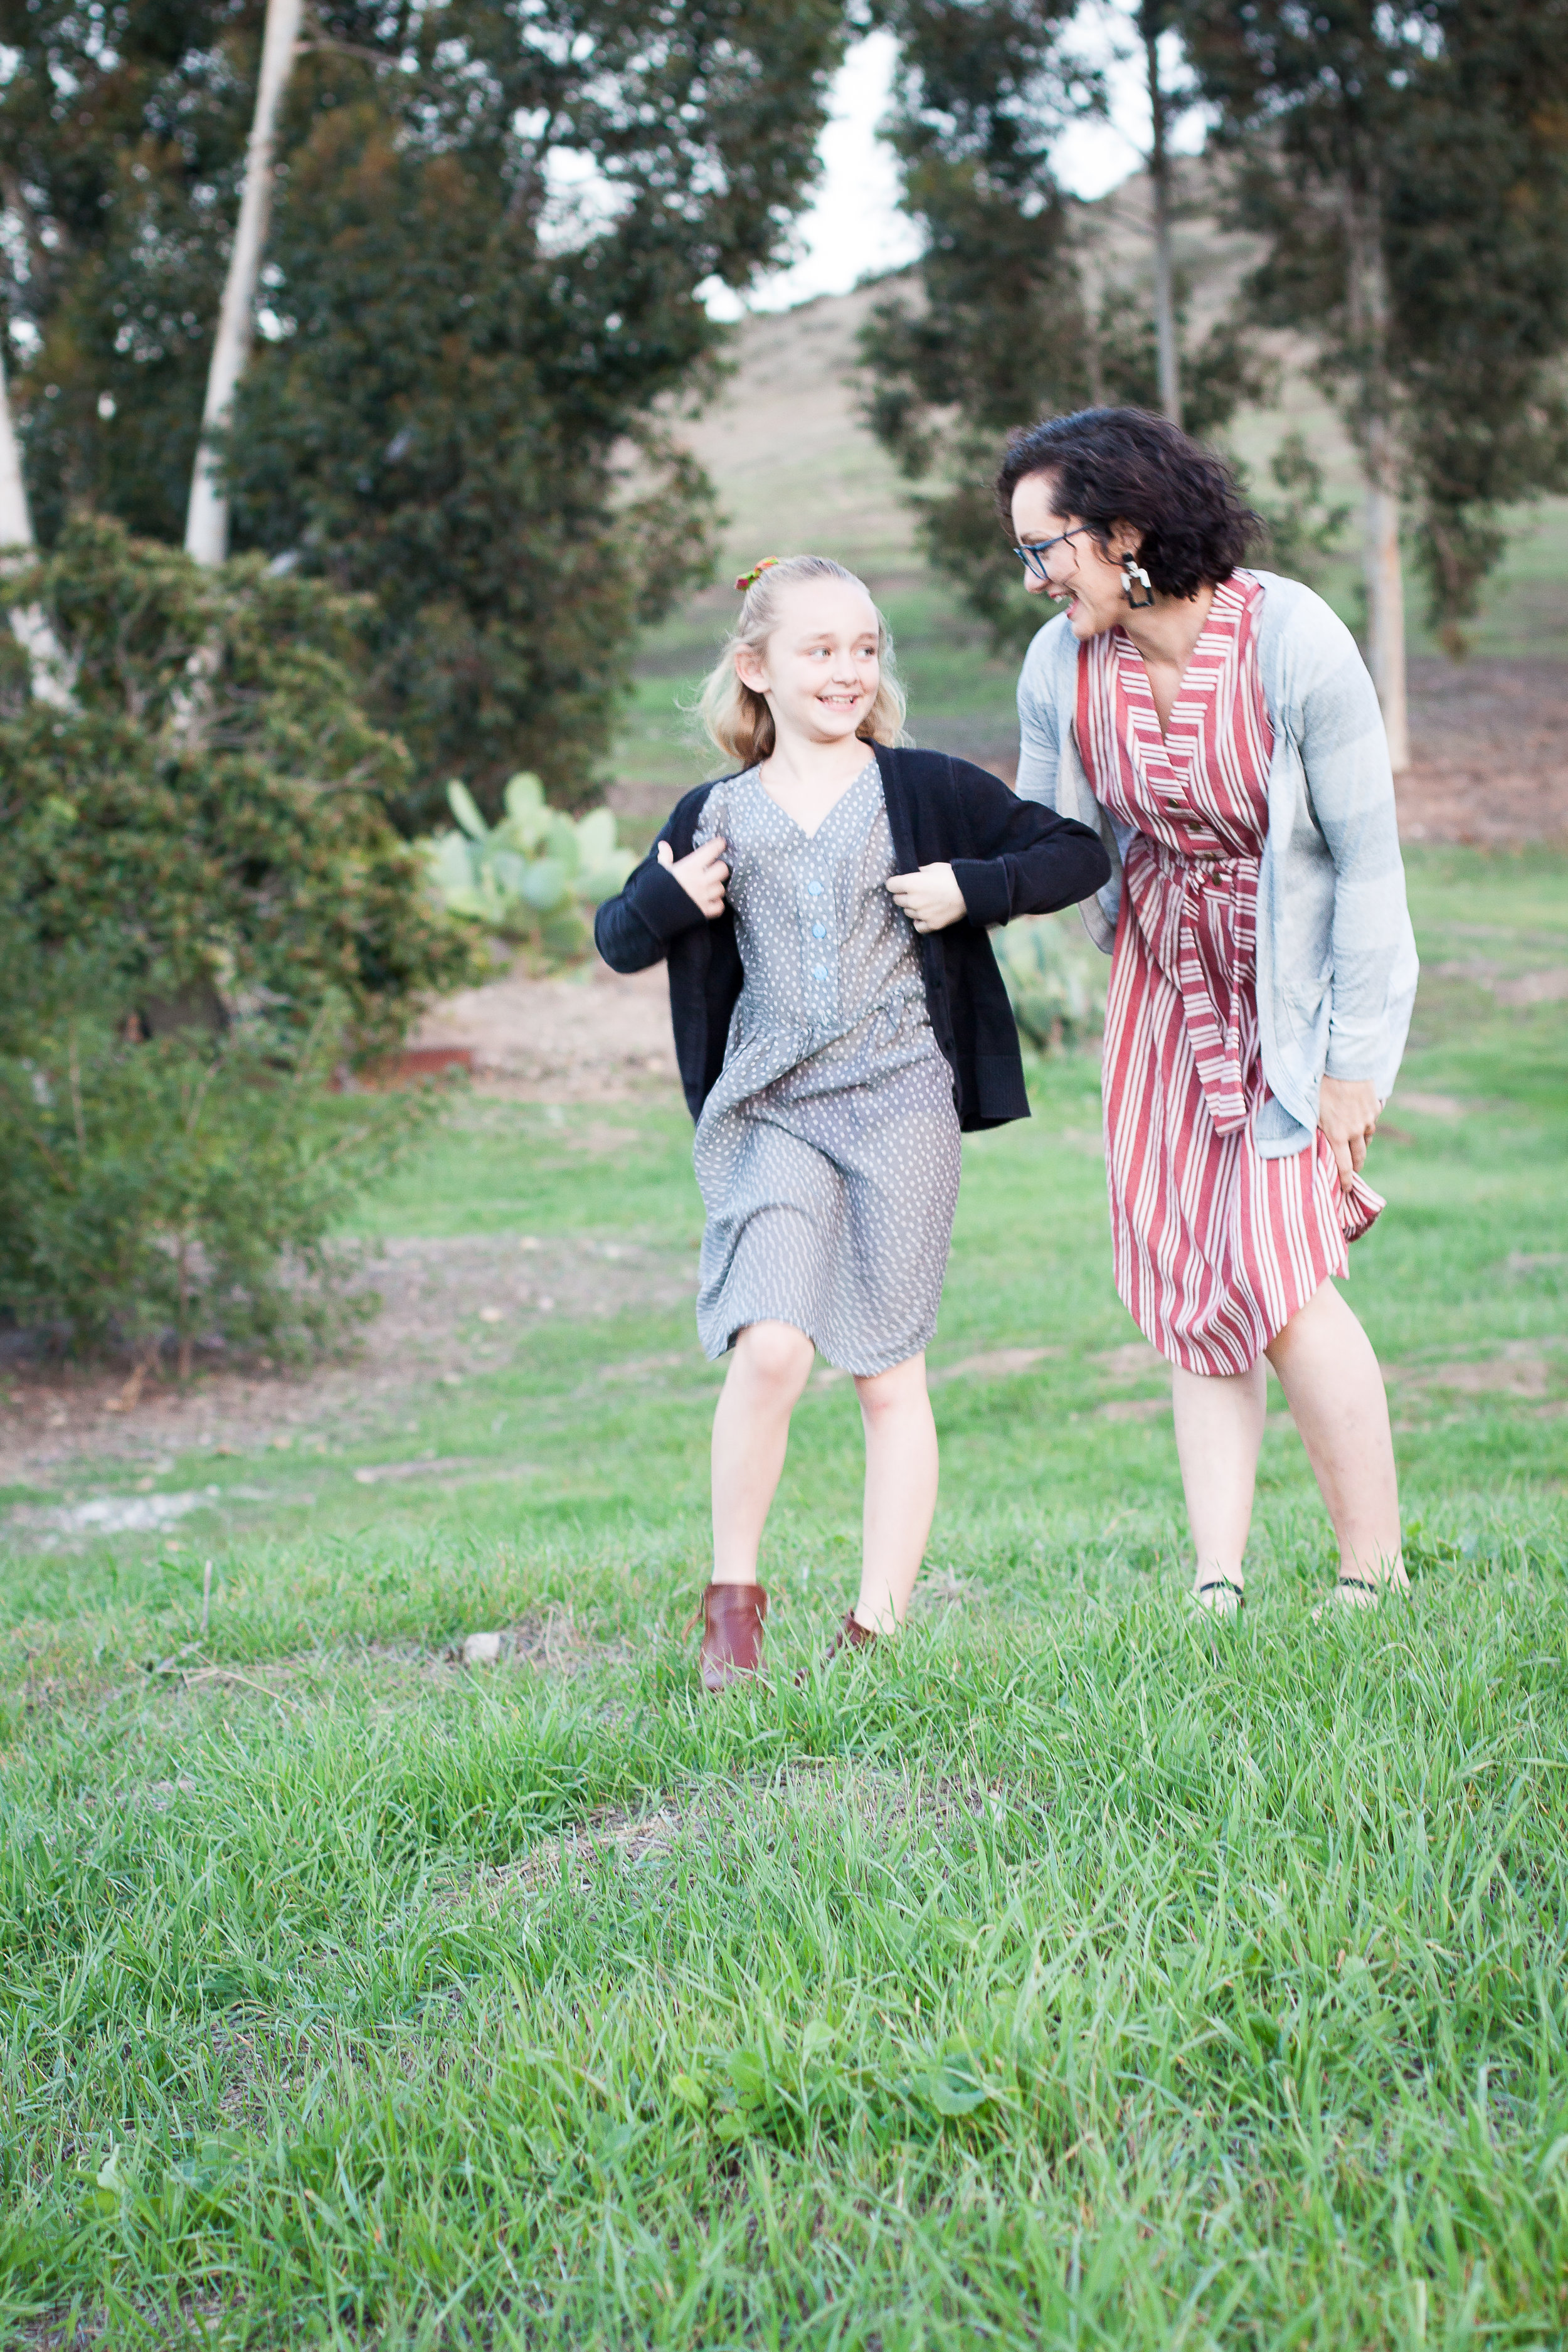
The final Girls’ Fringe during giveaway week was constructed just like the first using contrasting yet coordinating fabrics.

Contrasting Girl’s Fringe
And, for the first time I remembered to insert my labels from Dutch Label Shop! I am not used to having them yet and forgot to put them in 80% of my makes this month.
This dress is made from the Balboa Line of Cotton and Flax’s Essex Linen in conjunction with Robert Kaufman. I love the hand painted quality of the fabric.
I again added three snaps and a long, thick waistband that could be brought around and tied in the front.
The skirt is a basic, gathered skirt.
I am prepared to call our first giveaway week a huge success! I am so thankful to Chalk and Notch for sponsoring and creating such beautiful patterns! Can’t wait to make more!